(Image source: File Folder Vectors by Vecteezy)
Storing PDF patterns for easy access
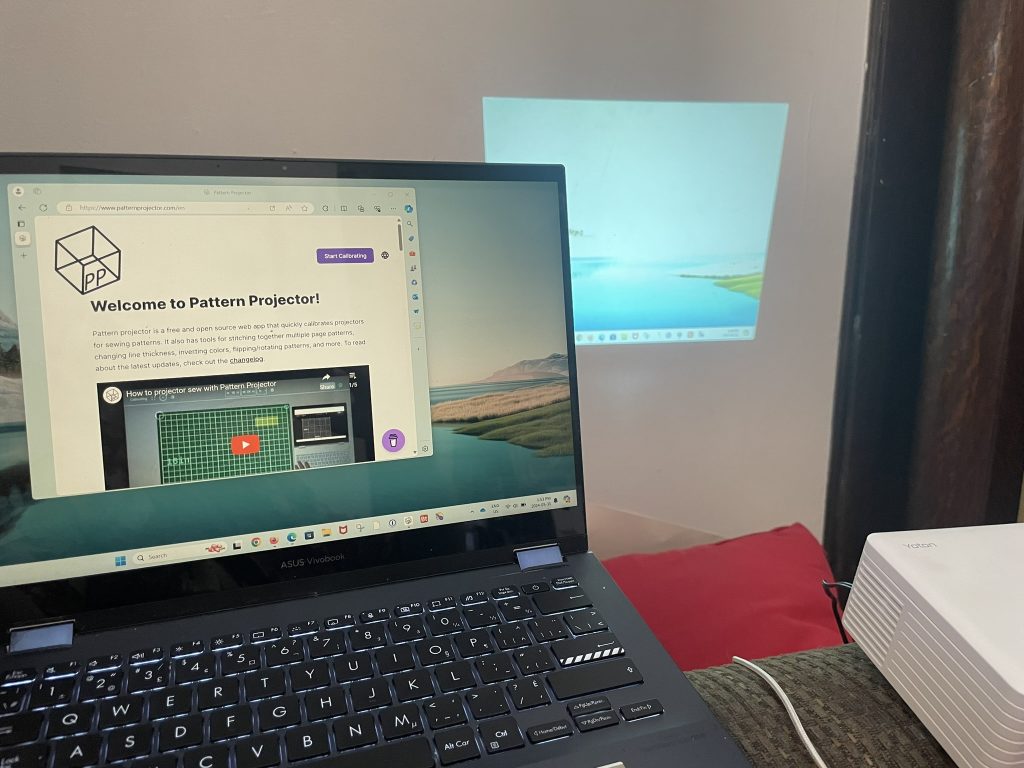
Below you will see my recommendations for storing your PDF patterns, so they are automatically backed-up, and accessible in almost any location. You can also view Branalyn Dailey’s youtube video which goes into more detail and shows the steps needed to install and use Google Drive:
Use an online drive to easily access PDF files on your devices (even when offline!)
Online drives, such as Google Drive, Dropbox, iCloud Drive (Apple), OneDrive (Microsoft), are more than places to backup files, they each can be installed on your computer and devices to be a folder like any other to save and access files easily, all without worries about losing your files if your device or computer have irreparable failures.
Each of these files syncs in the background, making files accessible as soon as you need it without a long wait for download. And each have an option to select some folders for offline access so they always stay on your device, to use the files even without internet access.
For most people free Google Drive offers best features
If Dropbox, iCloud or OneDrive work well for you, then those options will continue to work, and no need to change providers. But if you are running out of storage, Google Drive offers 15GB of free storage, more than any other services, and plenty to store thousands of pattern files.
One easy option if you already use Google for email and or other files, using up most of your 15GB of storage, is to make a new Google Account, just for your sewing. You can use it just for pattern files, or you can also use it for signing up for accounts and newsletters for all your favourite sewing pattern and fabric companies to keep them all in one place and not get lost in your main email box. Make sure you store the password in multiple places (using a password manager app is recommended for all your online accounts) and put your main email as the recovery email when setting up the account, so you never loose access. No matter what device you have, even without any app installed you will always be able to go to Google website to login and tap button for Drive access on the website, including downloading directly from there if needed.
Once you have setup your Google Account, you can download the Google Drive app for Windows, Mac, iOS, and/or Android. Log into each with the account you will be using for sewing patterns. On Windows and Mac, you will then see a Google Drive folder in right hand side of files window and you can drag and drop files there like any other. You can also navigate to those files when wanting to open patterns.
On iOS devices, once you install Google Drive app, you will be able to navigate to Google Drive anytime you need to access files, it will automatically show up as “Location” in Files app. You may need to press back button multiple times when in Files app to get to Locations area to change from iCloud drive location to Google Drive location.
How to move files you already have files in another online drive to Google Drive
If you have a computer, you can drag and drop files from your Dropbox, iCloud or OneDrive folders right to your Google Drive folder.
For phones/mobile devices, simplest option is to access app for the drive your files are on, select download option on main folder and that will download it locally to your phone. Then open Google Drive app, and select upload option (may be the + button depending on your version) and navigate to downloads folder on your phone and then select folder you downloaded previously. Once uploaded to Google Drive you can delete the folder from your phone’s files.
If you use Adobe cloud or Xodo to store files, it is highly recommended to change to a more accessible files storage drive, such as Google Drive. Adobe cloud no longer has a Windows sync app so files can only be accessed in Adobe programs, or by logging into Adobe cloud on a browser, so files are not as easy to access as Google Drive, or the other main online drive services. And just like Adobe, saving PDFs in Xodo app is not recommended either – where you save your PDFs needs to be in a location that allows you to open files in any software, not just Xodo PDF reader or Adobe.
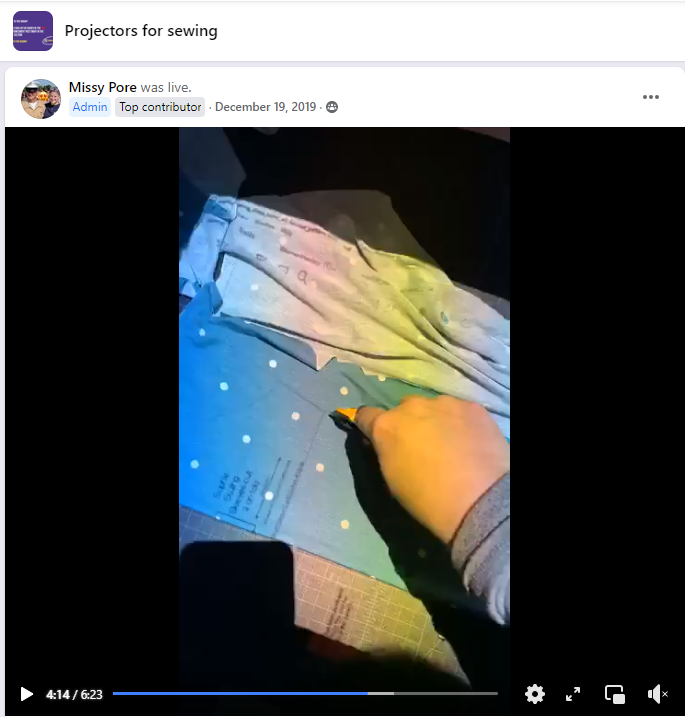
If you have trouble with any of the steps of moving files from one drive to another, installing google drive app, saving or accessing pattern files, then make a post in Projectors for Sewing and you can get help there.
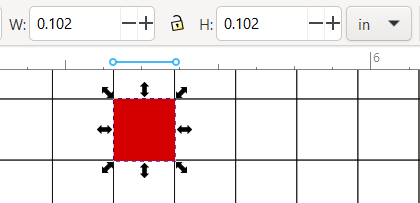
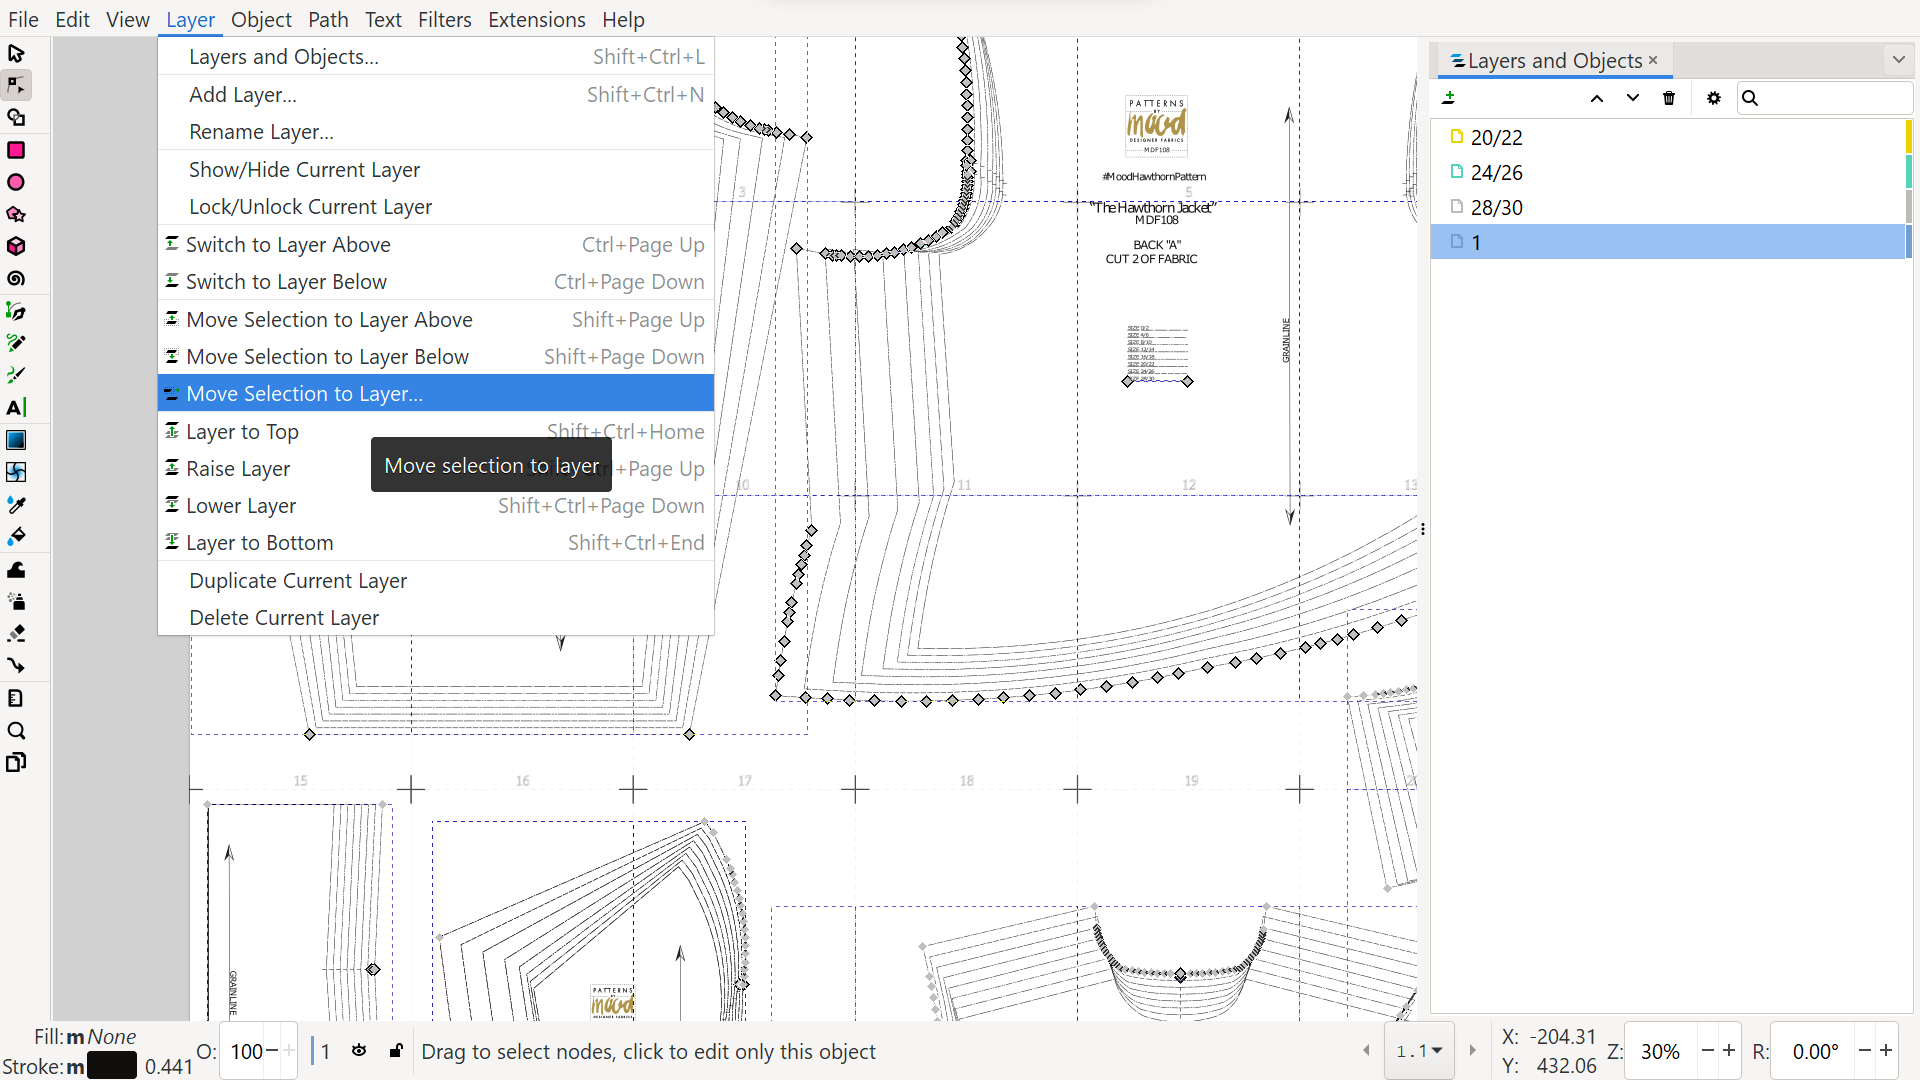
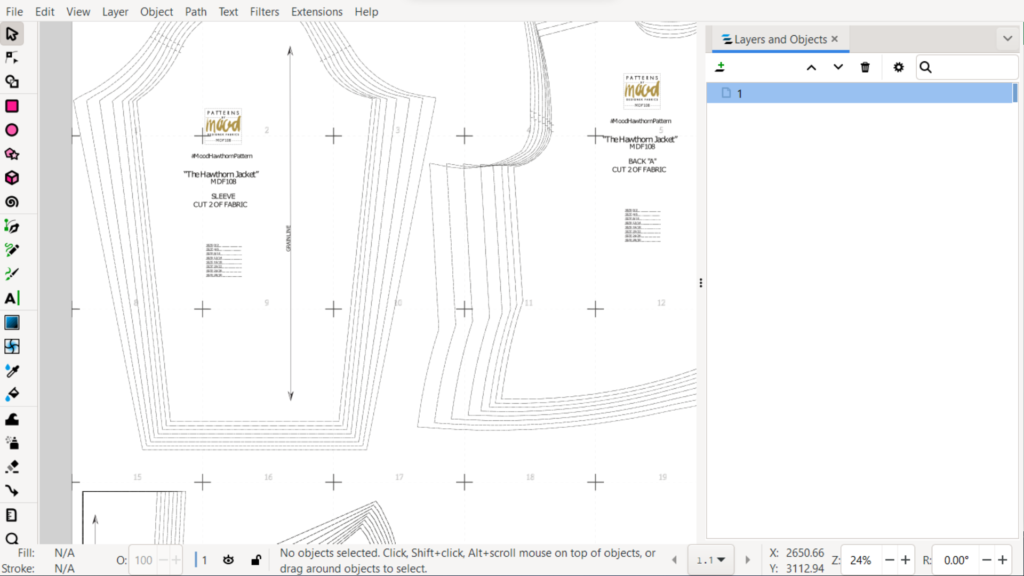
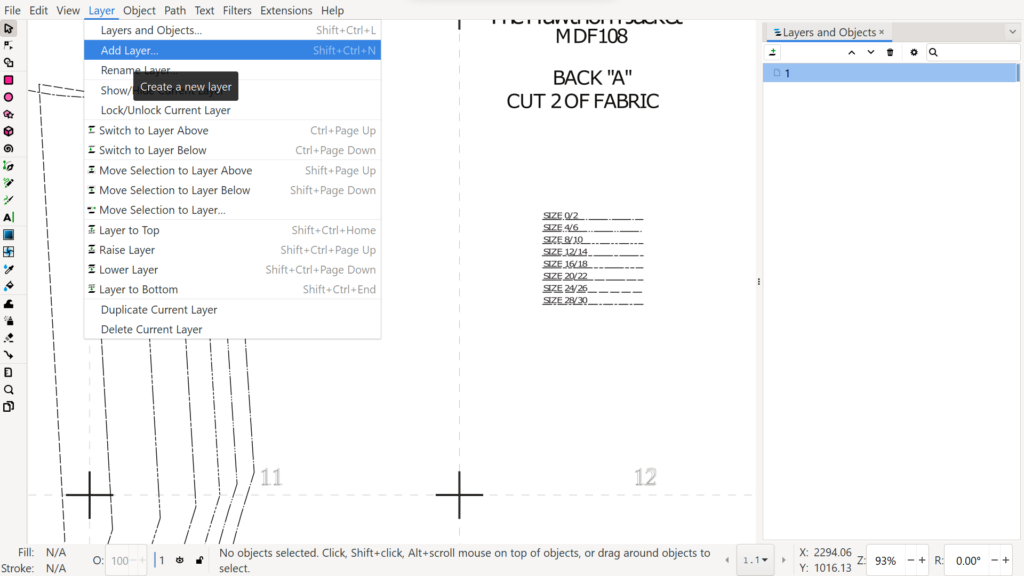
How to view PDF pattern cover page when looking at contents of folders
Finally, make sure that wherever you have your PDF patterns saved, you adjust folder viewing options to show first page of PDF which will make recognizing files much easier. Look for options button when viewing folders and select “Large icons” or similar option.
If the large option view just shows “PDF” icon not file icon and using Windows, you may need to open Adobe Acrobat Reader, navigate to top left Menu > Preferences > General and look for “Enable PDF Thumbnails Previews in Windows Explorer” and add a checkmark there.
Again if you have trouble with any of these steps, make a post in Projectors for Sewing to get help there.