Create pattern size layers with Inkscape
There are a some sewing pattern companies who still don’t offer size layers in their pattern files. If printing, this means lots of ink wasted on sizes we don’t need. If projecting, this makes it harder to to follow our size line when cutting. However, a major advantage of switching to projecting from Pattern Projector though is the tools it has that make projecting unlayered copyshop patterns easier, including a line width increase tool, a colour inverting button for improving visiblity, a text magnification tool when hovering/clicking on text, and a line line drawing tool that allows drawing on a grainline on a piece, and then rotating pattern so that it is aligned with grainline of our fabric (so we don’t have to re-shift our fabric as much). If you haven’t tried Pattern Projector yet, it makes projecting quicker, and is easy to learn (all the functions are in simple buttons).
But if wanting to edit unlayered files to make digital pattern adjustments, there are ways to create layers in these files.
Depending on the file type, there are a few ways to recreate layers, using Inkscape, or other drawing/vector editor programs. Inkscape is my recommended software, because it is free and open-source, and has many powerful features to make these steps quite simple. To download, install and learn the basics of Inkscape, start with at the Beginner’s Guide to Inkscape for Projector Sewing.
Two methods to create layers in patterns without size layers
When opening a pdf to create layers, there are generally two methods. Two major companies with unlayered patterns are McCalls and Mood Patterns – for McCalls the first method will be needed, for Mood Patterns, the quicker second method can be used.
- If the pattern is just images, and not made up of selectable paths and curves, then we have to redraw the pattern lines ourselves. Thankfully, the Pen/Bezier curve tool makes it not too laborious, and Marta’s video shows how to trace the pieces pretty quickly.

Pen/Bezier curve tool makes tracing patterns quite easy, and Marta’s video shows how to use it.
2. If the pattern has selectable paths, then it is a vector-based file already, and using Inkscape’s “Select same stroke” feature, we can almost instantly create a new layer for any size we want. The rest of this post gives the detailed steps for this method.
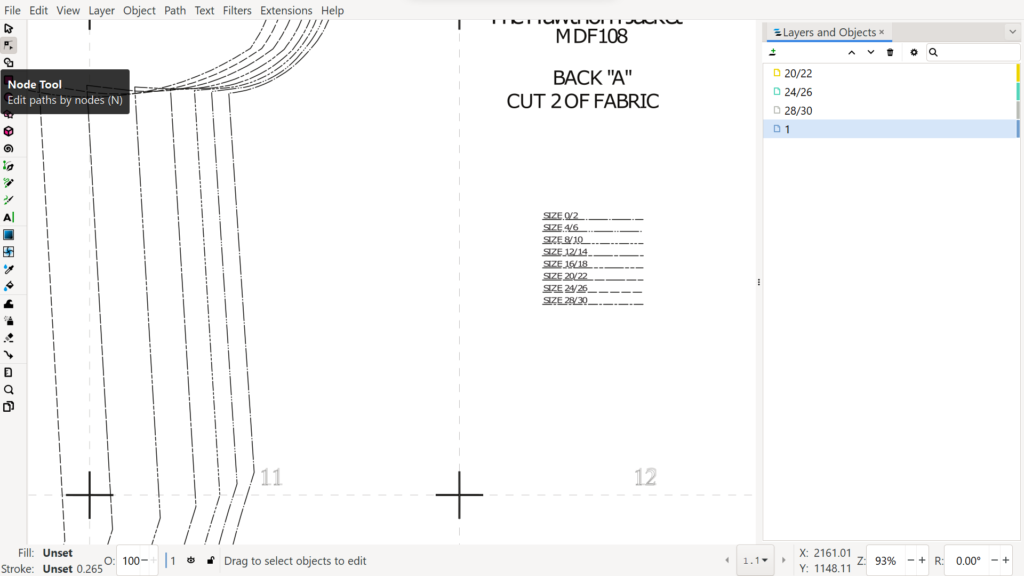
To know if the pattern has selectable paths, use the Node tool and click lines. If they are selectable, lines will be highlighted in blue.

The Node tool allows selecting and editing lines/paths in pattern pieces, if pattern is vector based.
Creating layers in Mood Sewciety patterns
Mood Sewciety patterns, on the Mood Fabrics site, is an example of a designer with vector-based pattern files, but without layers, so if projecting them, we need to create layers so that we can project just the size(s) we need. All their patterns are free, and sent to you when you enter your email address on the page for each pattern. Sewing instructions are not included in the PDF, but the blog page for each pattern has general sewing steps for the pattern with pictures.
Using the free Mood Sewciety Hawthorn Jacket pattern, here are the steps for creating a layered projector file in Inkscape.
In the case of Mood patterns, they also aren’t available in a copyshop or A0 size format, so we have to digitally assemble the letter pages using PDFStitcher. The PDFStitcher settings to use for Mood patterns are very simple:
- for page range, omit the first page since that is the pattern map, and the first pattern page is page 2.
- for the Hawthorne jacket, that means we enter 2-36 in page range.
- looking at the pattern map, we count that the layout is 7 pages across, so we enter 7 in columns.
- Then we click “Generate PDF”.
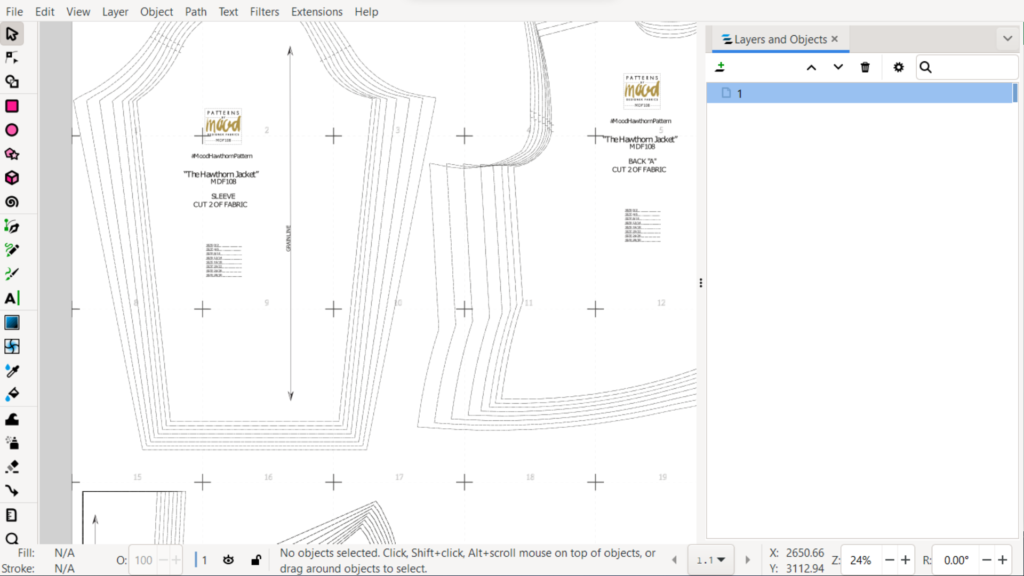
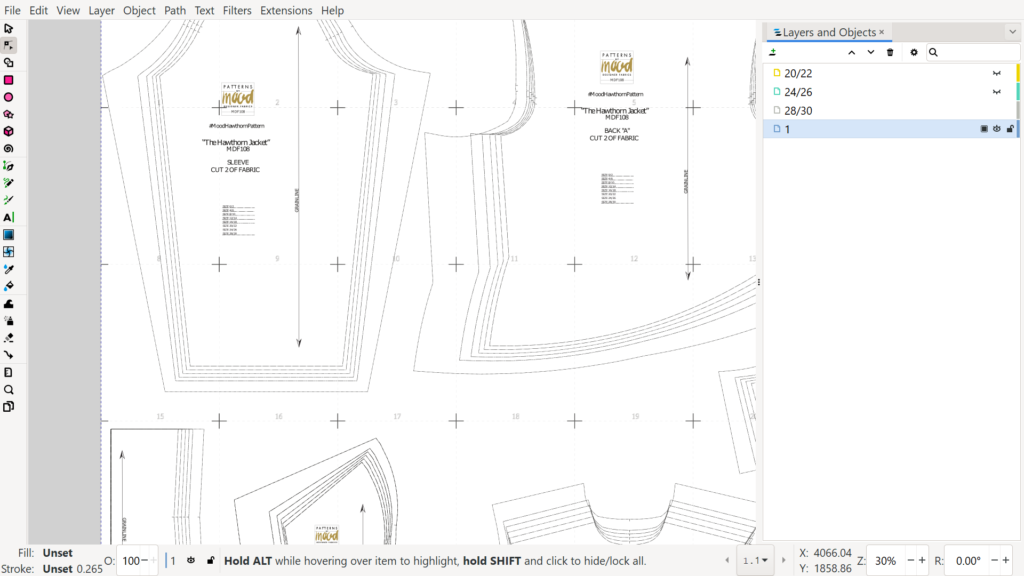
Now we can open the pattern in Inkscape. We can see in Layers panel, it only has one layer, named 1 (for page 1).
Steps to create size layers in a pattern file with vector based pattern pieces
Before any of these steps, make sure to save the file as an Inkscape SVG format to preserve all your changes.
Step A:
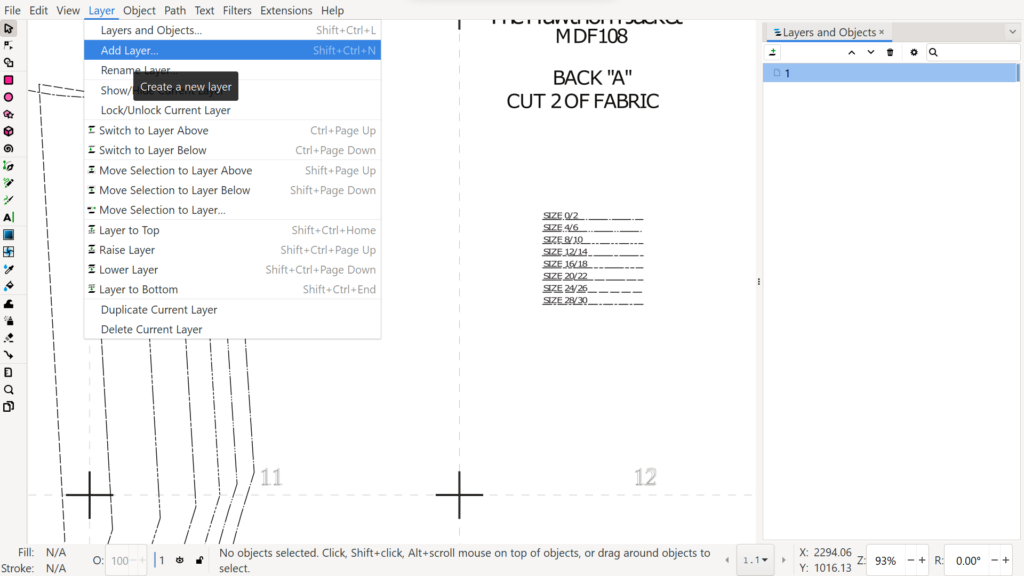
Zooming in on the legend of sizes to see what size labels are in the pattern, we then start to create the size layers we want. For this example, let’s say we just need to project the three largest sizes. So we create layers for each of those sizes.
Using menu Layer>Add Layer…
Step B:
Then name the layers for each of the sizes you will be working with. Click Add button to create the layer.

Now in Layers panel you will see the three layers we created, named with the size label for each one.
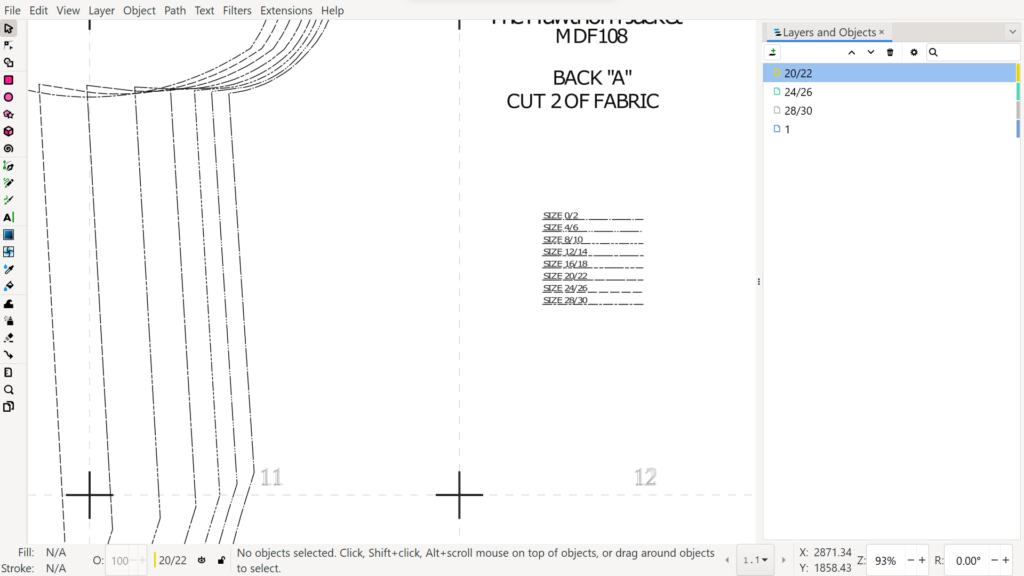
While we created three new layers and named them for each size we want to work with, these new layers are completely empty. In the next step we will be adding pattern pieces to each size.
Step C:
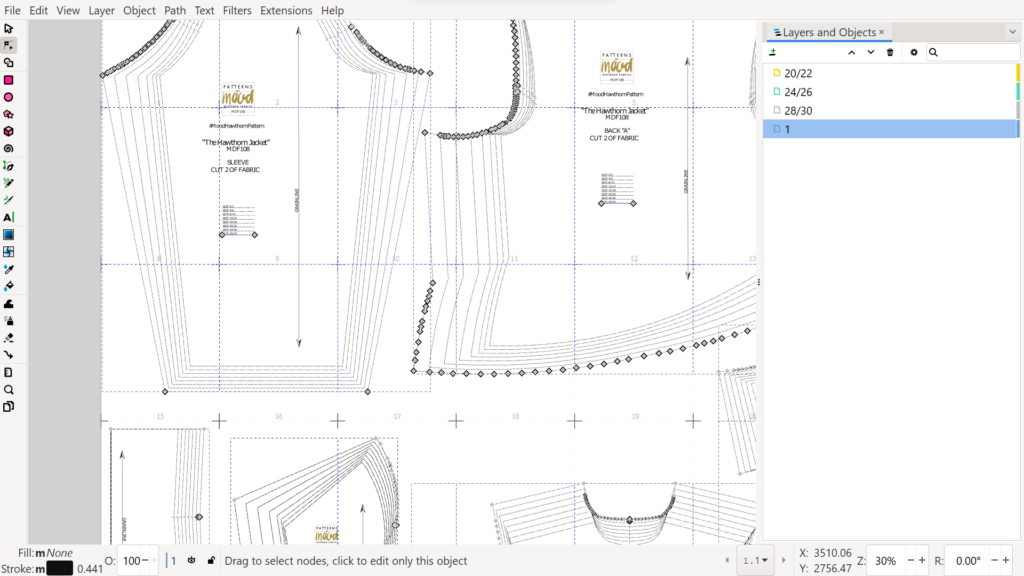
Next we click in the Layers panel “1” to make sure we are working in the original layer of the pattern, where all the pattern lines are currently.
Then we change to the Node tool.
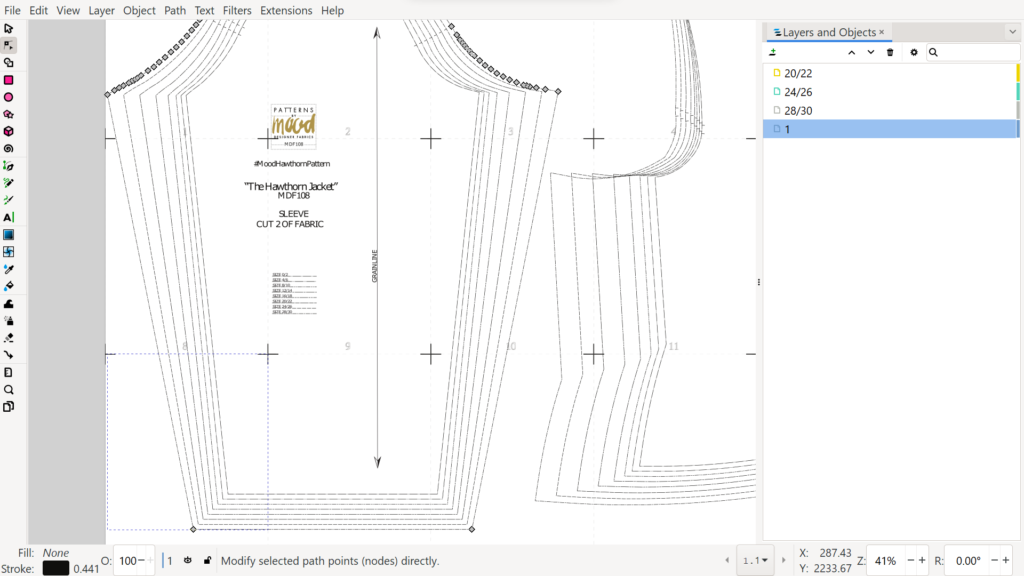
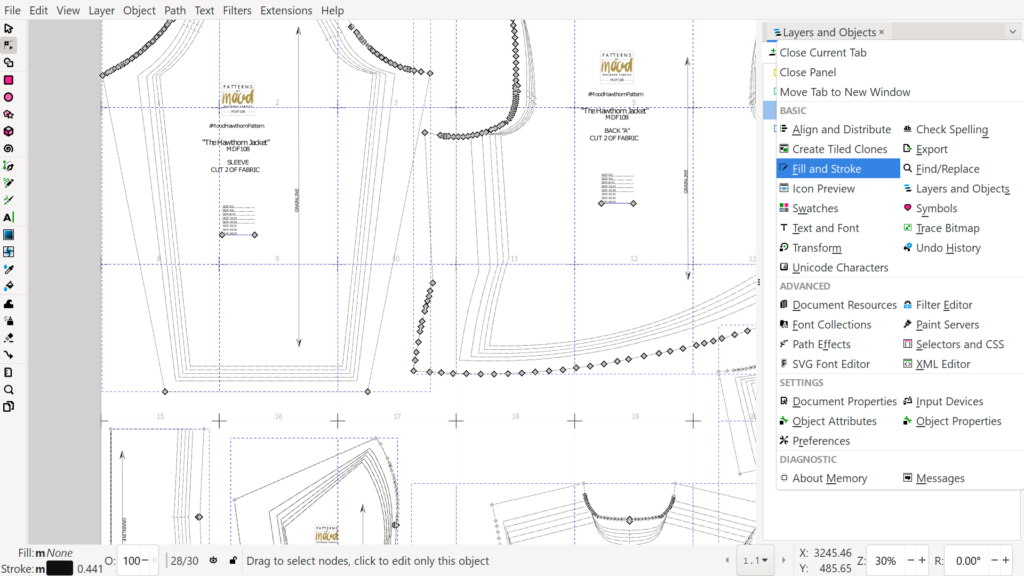
Zoom out until you see more pieces, and with the Node tool active, we select a line that corresponds to the first size we want to separate into a new layer. We see in this picture that when the node tool selects a line, it selects all the connected paths and shows all the nodes in the paths. This path selected has nodes in the bottom corners, and then many nodes at the top in the curved part of the pattern piece. The blue dashed line can be ignored, that just indicates the page in the area that we selected the line with the node tool.
Step D:
Now this step is where Inkscape saves so much time:
Using the menu: Edit>Select Same>Fill and Stroke
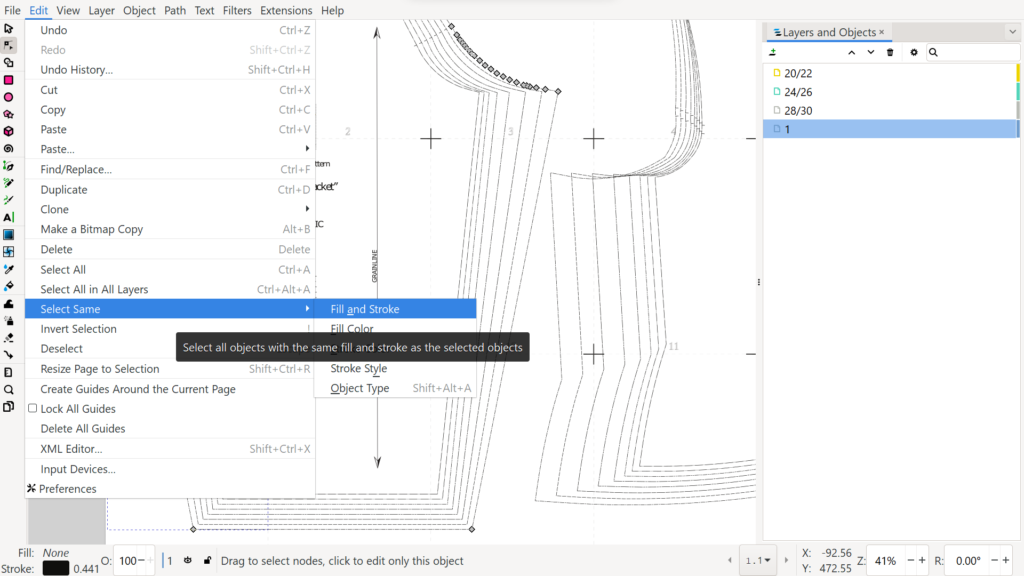
And then all the same line style (“Stroke” in Inkscape terminology) from our size is selected across all pieces. We can see that by seeing all the notes in different pieces that are highlighted.
Step E:
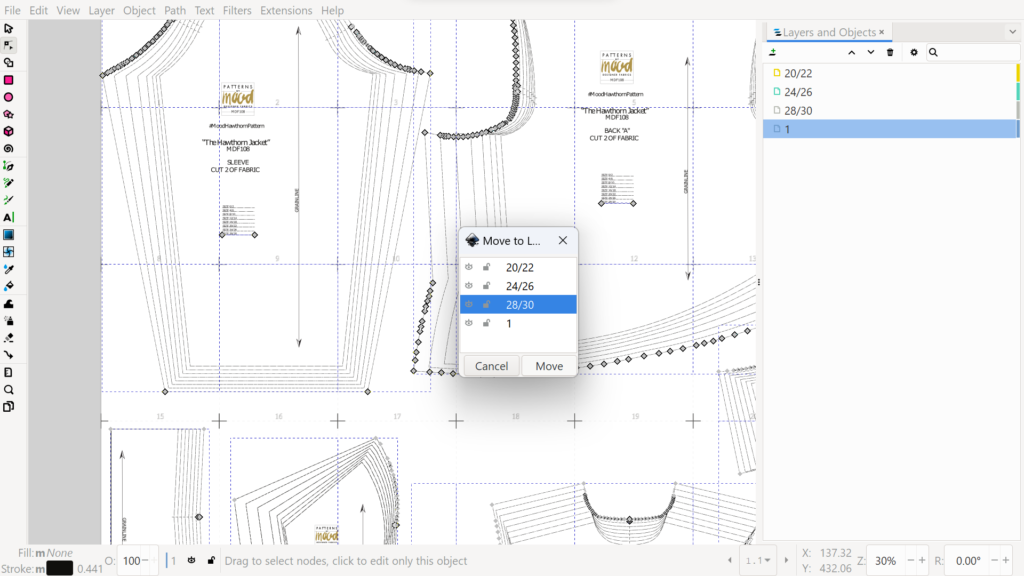
Now without clicking anywhere else since we don’t want to lose our selection:
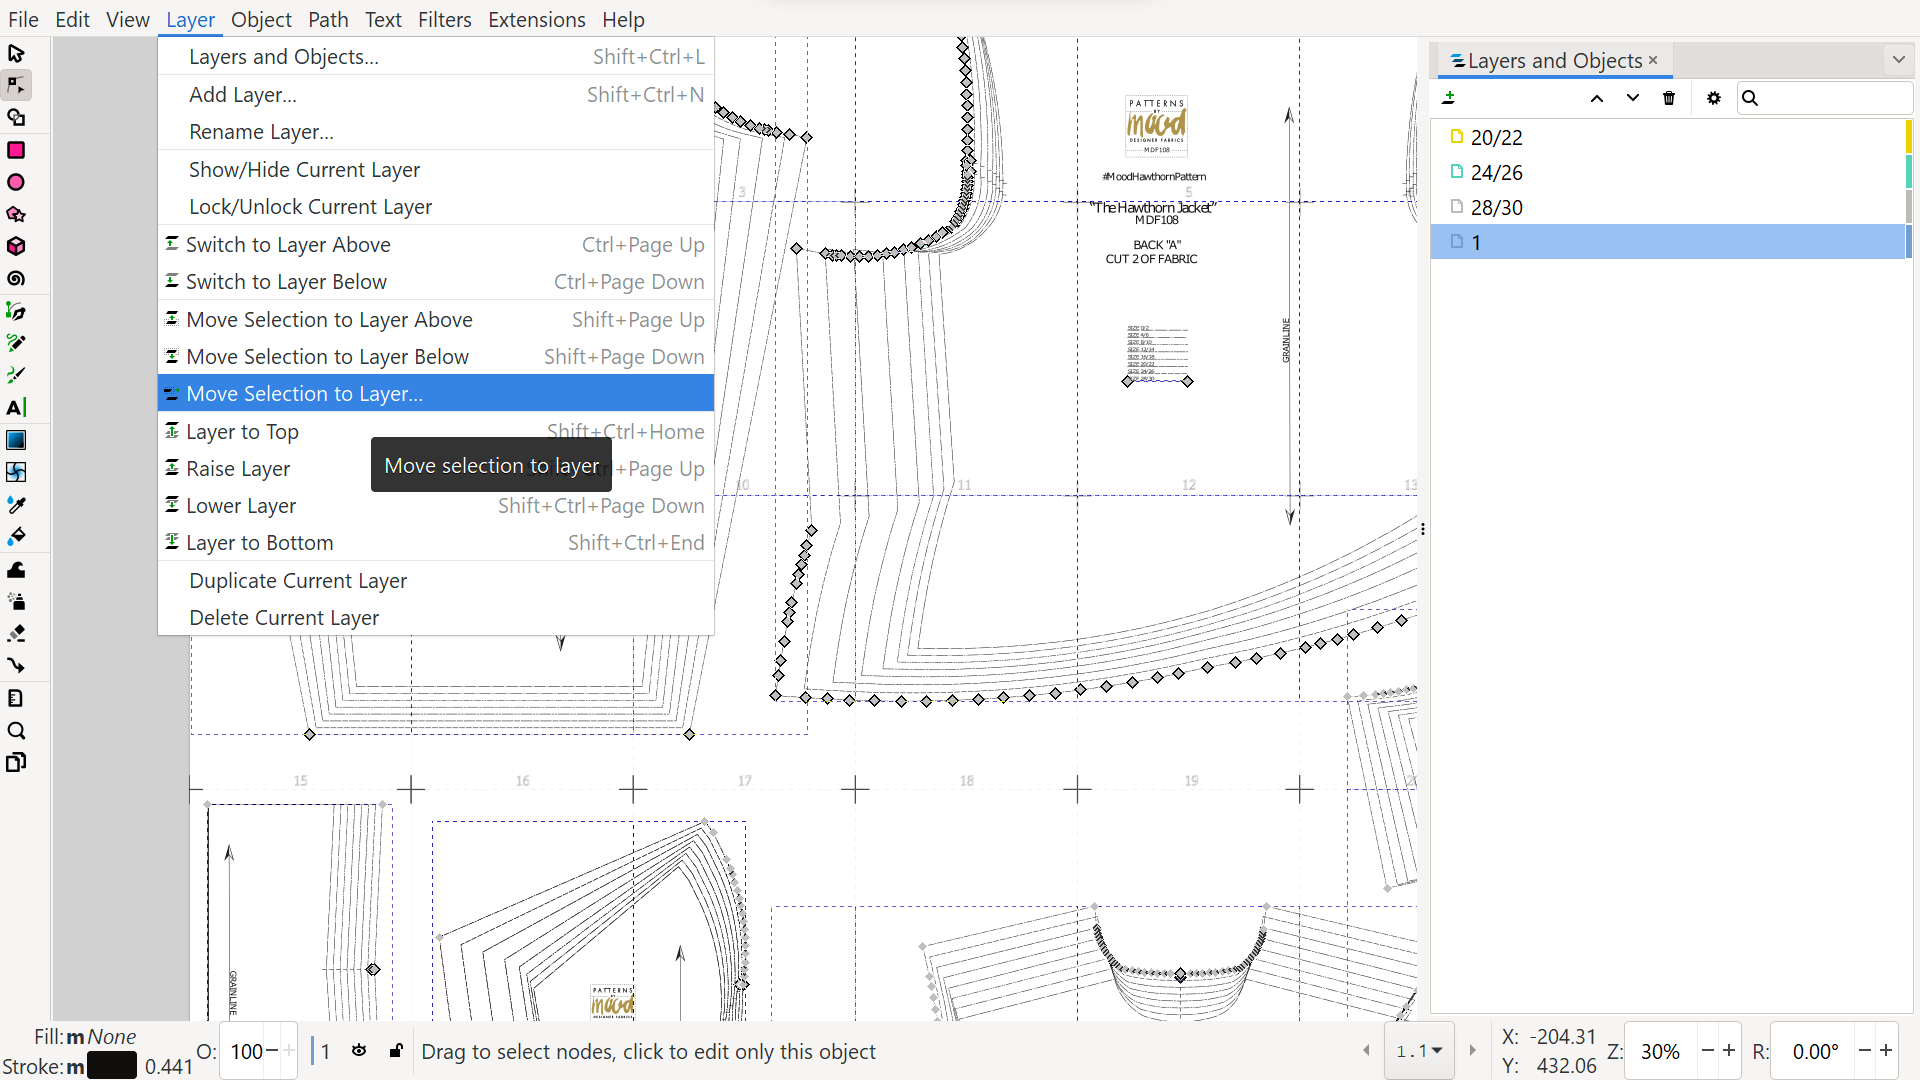
Using menu Layer>Move Selection to Layer..

And then we choose from the list, the layer with the size label we created earlier, then click the Move button. This is why we created the empty size layer first in the previous steps, as there’s no option in this step to create a new layer when moving the pieces to their own layer.
Step F:
Now we repeat these steps for the other sizes we want to separate into layers.
Once we have our selected sizes in each corresponding size layer, we can use the eye icon 👁 in the “1” original layer, to toggle that layer off.
Then we will just see the pattern pieces in the three layers we created.
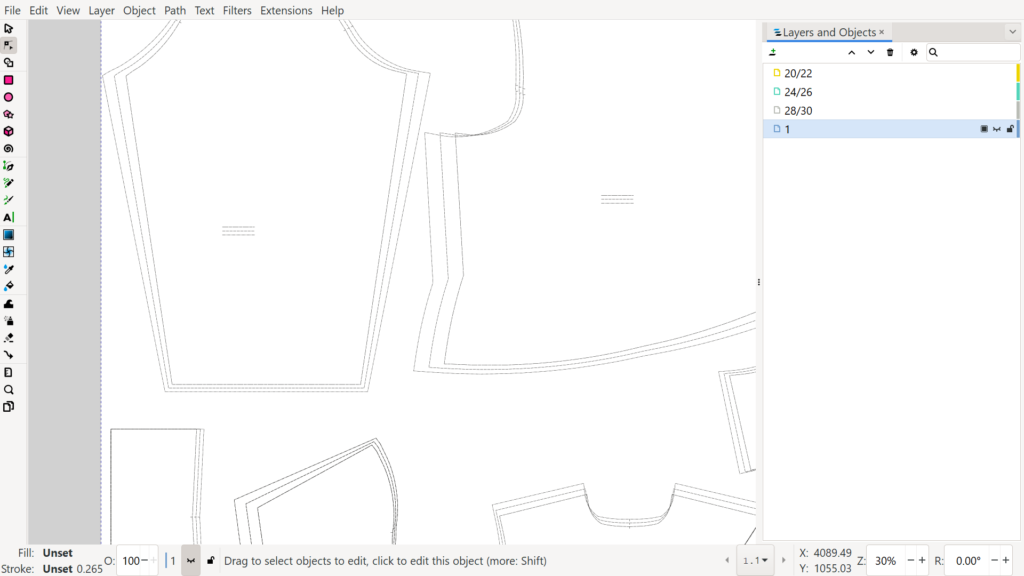
Then we can change visibility of layers as we wish. Here the eye icon 👁 has been used to hide two of the sizes we created, and keep on the largest size and the remaining original layer.
Changing line width, colour and style for size layers in a pattern
Now that our selected sizes are in separate layers, there’s also lots of other changes we can make to the size layers.
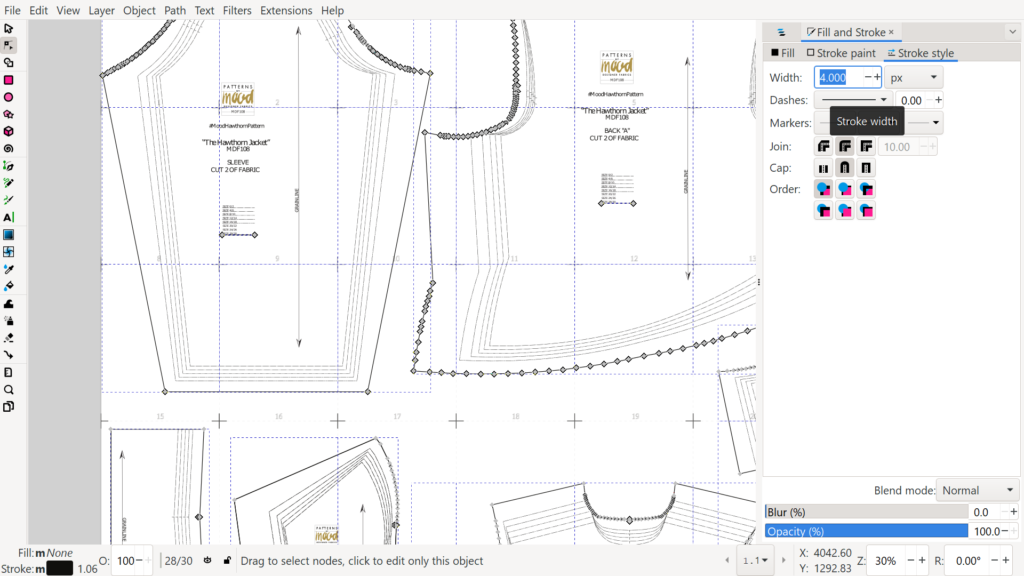
For example, here are steps to change size line width, colour and style.
When we are in a layer with our selected size:
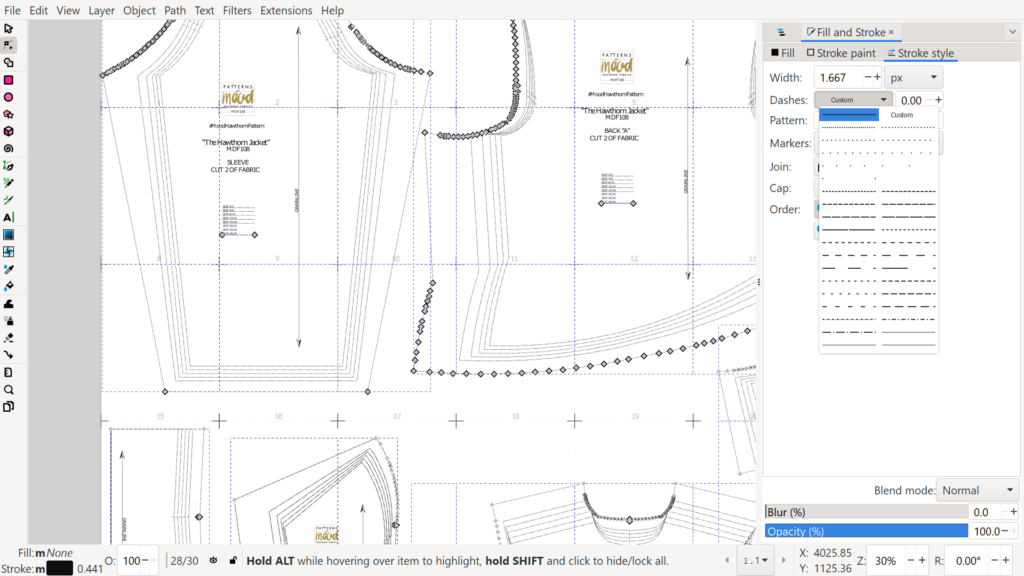
Using menus Edit>Select All (Control A, Command A on a Mac) to select all lines in a layer. Then in panel on left side of screen click the little triangle to see all the other panels choose Fill and Stroke.
Then change to Stroke Style, and for Dashes click to show drop down menu and you can change to solid line.