For readers who are already have experience cutting using Adobe with their computer and projector, you can now proceed to Part B.
If you are new to cutting with a projected pattern, this is a good time, to start cutting a first small pattern, and putting in practice the information just learned in the previous sections.
Steps to cut your pattern:
- Using the information from previous sections:
- Open your pattern (section 2.0)
- Open layers panel (section 8.0) and select the size you want to cut
- In the status bar, enter your calibration zoom (type in the Z box), and rotate pieces if needed so longest side of pattern piece is aligned with longest side of projection (type 90 in the R box in bottom right status bar to rotate in clockwise direction). (Steps to use zoom and rotate in status bar are in section 6.0)
- Then go in full screen mode (section 7.0)
Now your pattern should look something like this on your screen, and on your projection:
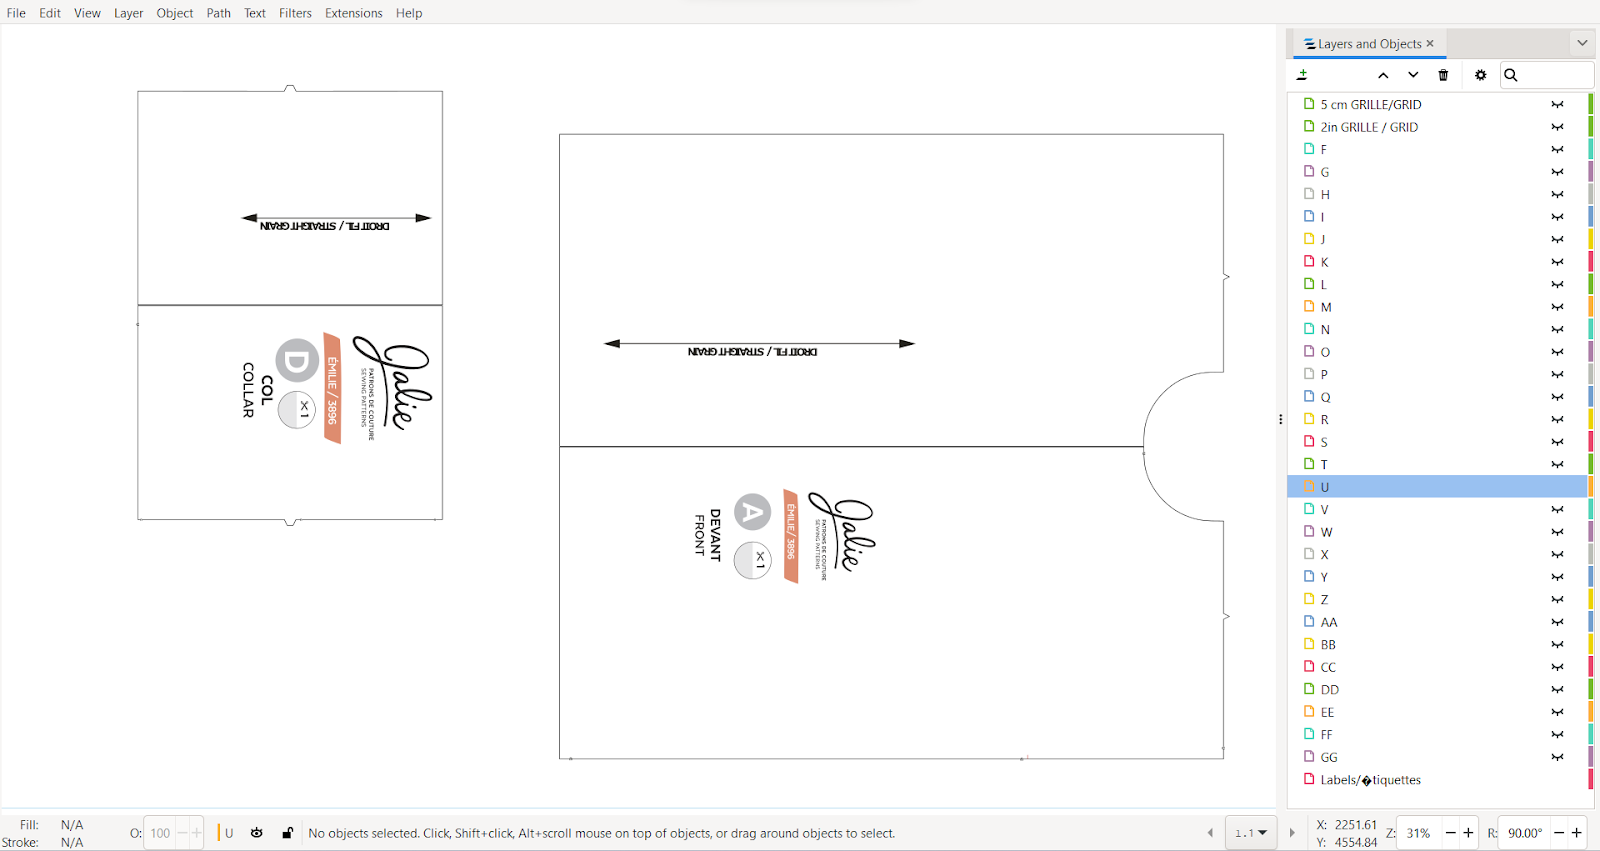
(if you want to follow along with this pattern, this is the free Emilie pattern from Jalie.com).
- Now you can cut!
- The most common and simplest way to cut on projector is one piece at at time.
- Cut one piece, then scroll projection, so that next piece is where you want on fabric, then cut second piece.
- To scroll projection, we use keyboard arrow keys, pressing Control at same time, to move pieces across the screen (section 5.0) to move pattern piece where we need it.
- Depending on size of table/mat and size of projection area, you will likely need to reposition fabric as well between cuts. Keep grainlne aligned with mat grid line, and projector file will have grainlines in that direction as well, making the task of keeping on grain easier.
- If layers panel is in the way when cutting, press the x at the top of layers panel to remove it from the view.
3) Keep cutting with these steps and do the same for all your patterns. Once you feel comfortable with these steps you can move on to the next sections. In particular section 11.0 How to improve visibility of lines and section 12.0 Grouping and Ungrouping Objects will be helpful to get lines to be thicker if needed, and moving objects if you need to (but just scrolling projection in steps above is simpler and quicker in most cases, so it’s fine to stick with that method).